Adding ESLint and Prettier to a ViteJS React project

Recently, I decided to try ViteJS as an alternative to Create React App. Although ViteJS already offers a basic template for React applications it doesn’t come shipped with ESLint and Prettier. In this post, we will briefly go through the installation and configuration of those two packages in a React project created with ViteJS.
Step 1: Install dependencies
Besides ESLint and Prettier, we will install the following dependencies:
@typescript-eslint/eslint-plugin: a collection of linting rules for TypeScript projects.@typescript-eslint/parser: a code parser for TypeScript.eslint-config-prettier: an ESLint configuration to disable conflicting rules between ESLint and Prettier.eslint-plugin-import: a plugin to enable ESLint to handle ES6+import/exportsyntax.eslint-plugin-jsx-a11y: a plugin with some accessibility rules.eslint-plugin-react: a plugin with rules for React projects.eslint-plugin-react-hooks: a plugin with rules for React hooks. It will ensure that you never use a React hook outside of a function component.
To install all of these dependencies, just run the following line:
yarn add -D eslint prettier @typescript-eslint/eslint-plugin @typescript-eslint/parser eslint-config-prettier eslint-plugin-import eslint-plugin-jsx-a11y eslint-plugin-react eslint-plugin-react-hooks
If you’re using npm as a package manager, replace yarn add -D by npm install --dev.
Step 2: Configure ESLint
With the dependencies already installed, it’s time to create the configuration files for ESLint. First, we will create the .eslintrc, which will manage our ESLint configuration.
All the following files should be created in the project’s root folder.
.eslintrc
{
  "extends": [
    "eslint:recommended",
    "plugin:react/recommended",
    "plugin:react-hooks/recommended",
    "plugin:import/recommended",
    "plugin:jsx-a11y/recommended",
    "plugin:@typescript-eslint/recommended",
    "eslint-config-prettier"
  ],
  "settings": {
    "react": {
      "version": "detect"
    },
    "import/resolver": {
      "node": {
        "paths": ["src"],
        "extensions": [".js", ".jsx", ".ts", ".tsx"]
      }
    }
  },
  "rules": {
    "no-unused-vars": [
      "error",
      {
        "vars": "all",
        "args": "after-used",
        "ignoreRestSiblings": true,
        "argsIgnorePattern": "^_"
      }
    ],
    "react/react-in-jsx-scope": "off"
  }
}
With no-unused-vars we will ensure that any unused variable will trigger an error. The react/react-in-jsx-scope rule was disabled so ESLint won't enforce the import of React in files with JSX (import React from 'react'). Since React 17.0, importing React in JSX files is not required.
Now we will create the .eslintignore file, which will tell ESLint which files should not be linted:
.eslintignore
node_modules/
dist/
env.d.ts
It’s recommended that you add a lint script to your scripts section in your package.json, so you can run ESLint by executing yarn lint or npm run lint:
package.json
"scripts": {
  "lint": "eslint . --ext .ts,.tsx"
}
Our lint script will be running eslint over all .ts and .tsx files starting from the project's root.
Step 3: Configuring Prettier
Just like we did when configuring ESLint, we will now create the .prettierrc file, with our Prettier settings. To learn more about the available options, check Prettier docs.
.prettierrc
{
  "trailingComma": "all",
  "tabWidth": 2,
  "semi": true,
  "singleQuote": true,
  "printWidth": 120,
  "bracketSpacing": true,
  "endOfLine": "lf"
}
And then, .prettierignore:
.prettierignore
node_modules/
dist/
Step 4: Integrating with VSCode
Ultimately, we will configure VSCode to use ESLint and Prettier to find problems and format our code, respectively. If you don’t have the extensions installed yet, install them: Prettier — Code formatter and ESLint.
With the extensions already installed, we will have to configure VSCode to use Prettier to format our file on save. The ESLint extension should work automatically if there’s a valid configuration file in (.eslintrc) the current workspace.
If you don’t have a .vscode/settings.json file yet, create it with the following settings:
.vscode/settings.json
{
  ...
  "editor.formatOnSave": true,
  "editor.defaultFormatter": "esbenp.prettier-vscode"
}
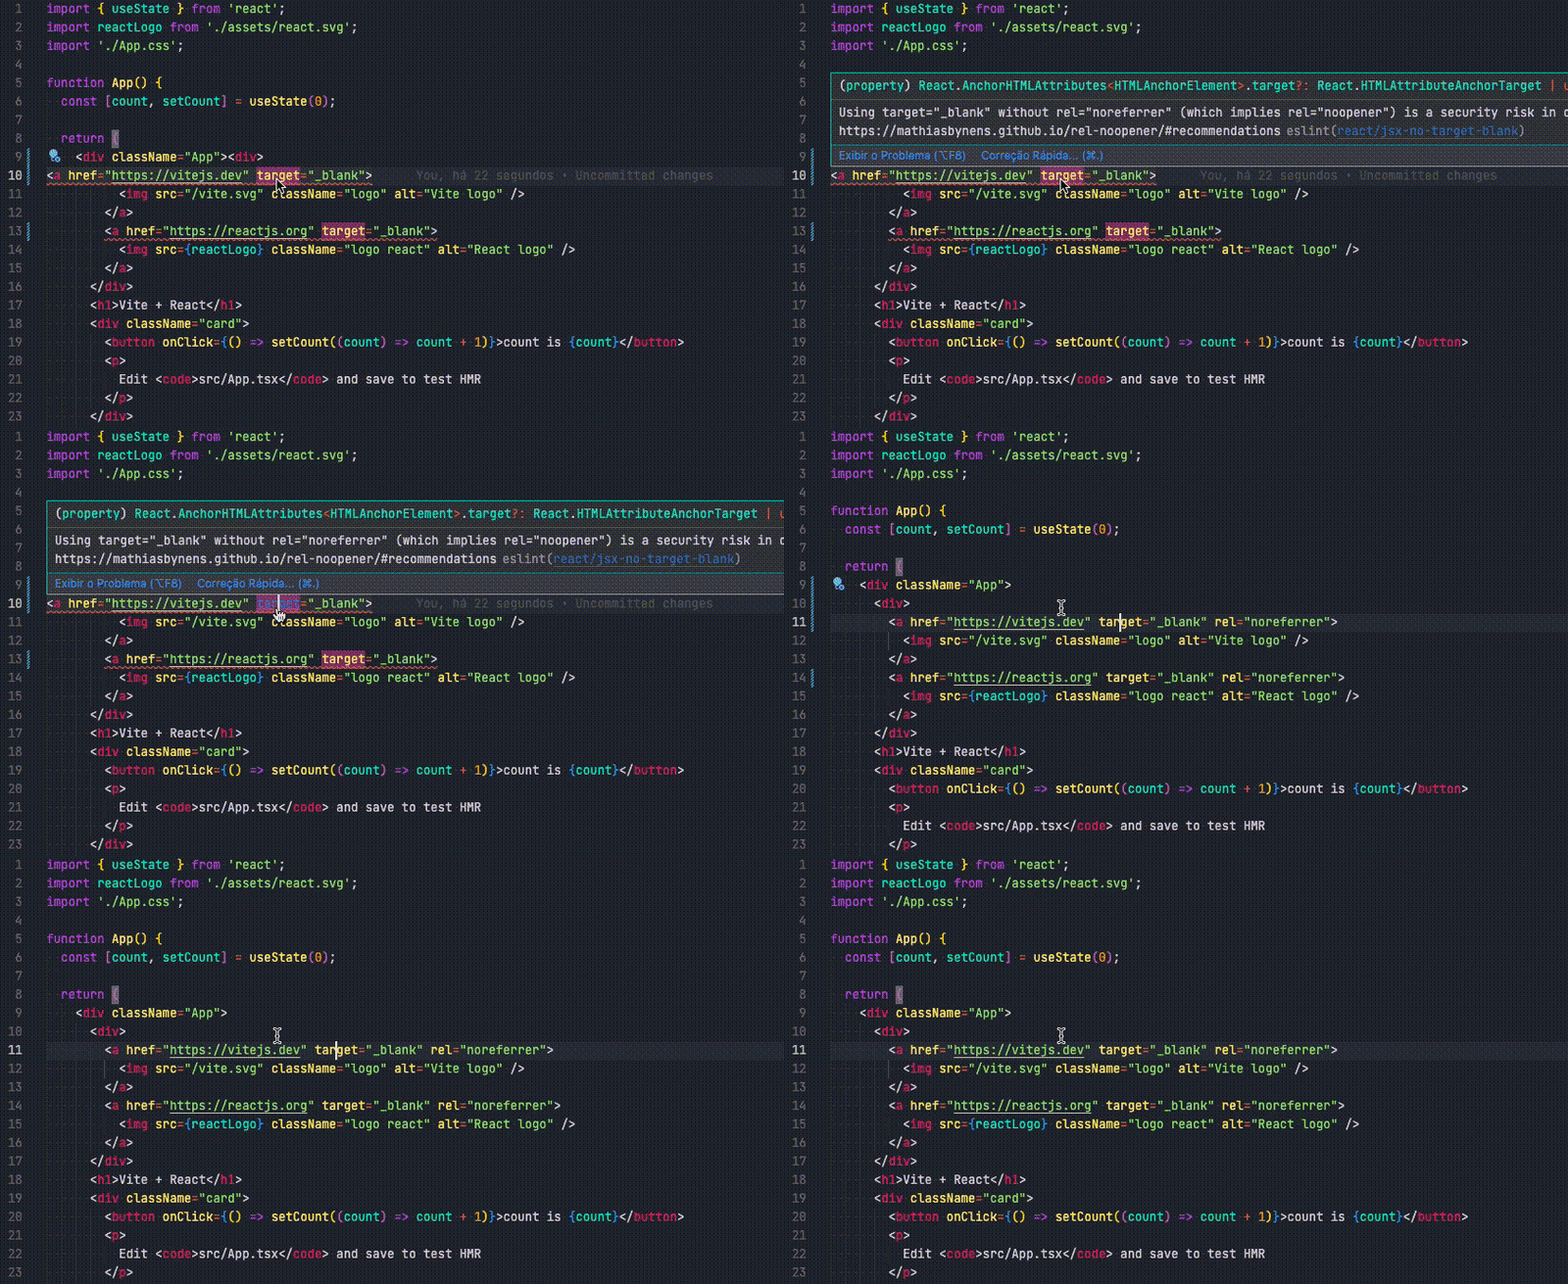
Well done! Now ESLint should highlight code problems while editing and Prettier should apply formatting on save when it’s possible.

Final thoughts
This post was inspired by Setting up ESLint & Prettier in ViteJS by Cathal Mac Donnacha.
A repository with this configuration, including Storybook, Jest, and React Testing Library is available at my GitHub: https://github.com/marcosdiasdev/react-vitejs-template.
Let’s talk!