
Simple Guide on Deploying Python Flask API on Vercel — Free of Cost
Whether you are working on your hobby project or a professional project, deployment is necessary.
Flask is a lightweight and versatile Python web framework used for building web applications. Its simplicity and flexibility make it an ideal choice for developers seeking a straightforward yet powerful tool to create web-based projects.
Vercel provides a very simple way and interface for deploying applications with continuous deployment. One big benefit of deploying on Vercel is that it is Free!
Please note that this article assumes you have Python and any IDE installed. If not, you can follow installation guides for Python and VsCode.
1) Initialize the Project:
If you already have a project move to the next step!
In this step, we will initialize a basic project. Run the following command to create a new project and open it in the IDE.
mkdir flask-api-example
cd ./flask-api-example

# below command will open vscode in the current directory
# if you have any other IDE, feel free to use that
code .
Open the terminal in IDE and create the virtual environment. Virtual Environment is not necessary but it is a good practice:
python -m venv .venv
2) Add Required Dependencies:
Add the required dependencies of your app in the requirements.txt file as follows:
# /requirements.txt

flask==3.0.0
# other required dependencies
Now to install the dependencies run the following command:
pip install -r requirements.txt
3) Write the API:
Now create a directory api (you can choose any directory name) and within this directory create index.py with the following code:
# /api/index.py

from flask import Flask, jsonify

app = Flask(__name__)


@app.route("/")
def home():
    return "Flask Vercel Example - Hello World", 200


@app.errorhandler(404)
def page_not_found(e):
    return jsonify({"status": 404, "message": "Not Found"}), 404
4) Add a .gitignore file:
Initialize the git repository using the command:
git init
Add a .gitignore file to specify intentionally untracked files that Git should ignore.
idea/
.vscode/
__pycache__/
.tox/
.coverage
.coverage.*
htmlcov/
docs/_build/
dist/
venv/
.venv
5) Configure the vercel.json file:
Now add a vercel.json file at the root of the app and write the following code.
{
"rewrites":  [{  "source":  "/(.*)",  "destination":  "/api/index"  }]
}
After all the steps your folder structure will look like the following:
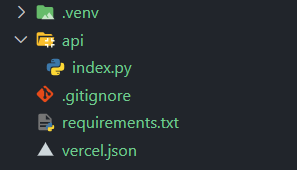
Folder Structure
5) Deploying on Vercel:
Now you can deploy on Vercel using two ways:
a) By Using Vercel CLI:
Install Vercel CLI globally using the following command:
npm i -g vercel
To login to CLI you can run the following command:
vercel login
You will be presented with the following options and you can select one. A session in the browser will open and it will authenticate the CLI!
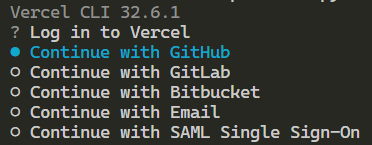
Options for Vercel Login
To run in your local environment you can use:
vercel dev
To deploy it to Vercel, use the following command:
vercel deploy
You will be presented with the options as follows, select the appropriate ones!
Vercel CLI 30.2.3
? Set up and deploy “~\example\flask-vercel-example”? [Y/n] y
? Which scope do you want to deploy to? example
? Link to existing project? [y/N] n
? What’s your project’s name? flask-vercel-example
? In which directory is your code located? ./
Local settings detected in vercel.json:
No framework detected.
? Want to modify these settings? [y/N] n
And your application is deployed!
b) Using Vercel Dashboard:
Upload your repo to GitHub or any other provider and connect the provider to your Vercel account. Now go to your Vercel Dashboard and follow along.
Click on Add New... and then select Project . After clicking you will be directed to the screen where you can import your project. Find your desired project and click import. Leave the settings as it is and click Deploy and it will take a few minutes to deploy. All the steps written are shown below:
Add New Project Page
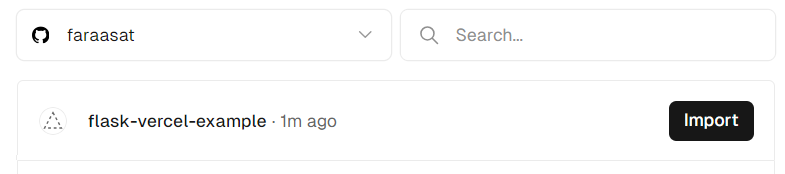
Import your project
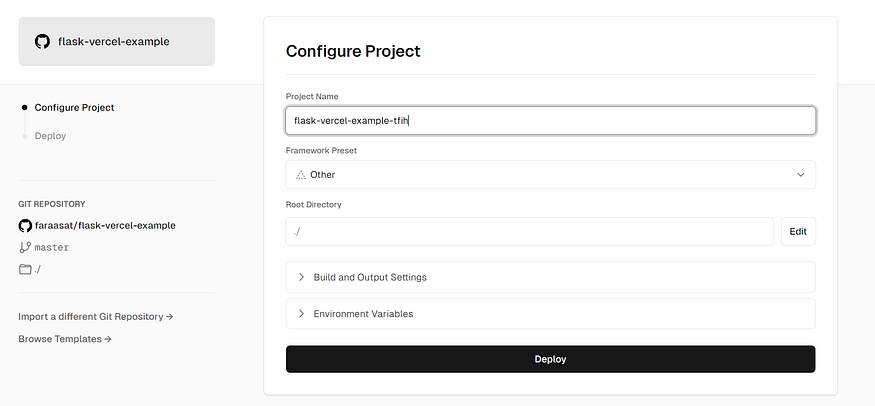
Deployment Configuration Screen
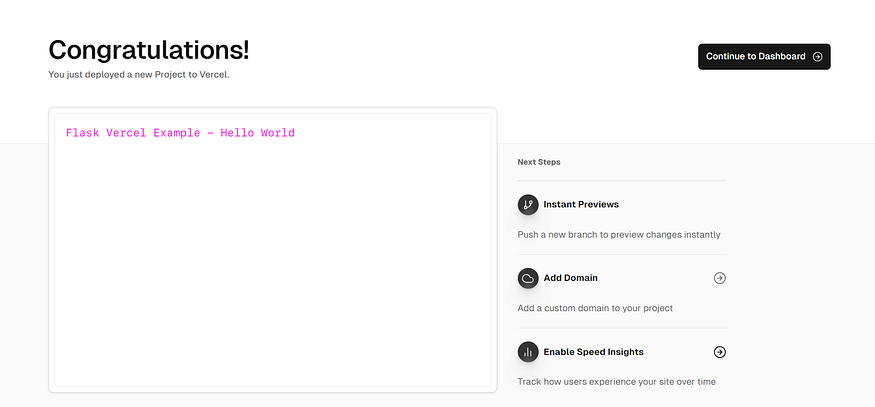
Deployed Project Screen
And that’s it, Happy Coding! 😊
Access the Code at GitHub.
Visit the Live version at: https://flask-vercel-example-tfih.vercel.app/
If you liked my story you can follow me for more interesting tips and tricks at Farasat Ali — Medium.
You can Find Me on LinkedIn and GitHub.
Also, Visit My Portfolio.
You can also check out the related articles:
Comments
Loading comments…