
Introduction
When it comes to optimizing your Shopify store for speed and performance, enabling browser caching is a critical step. Browser caching allows your site visitors’ web browsers to store certain assets locally, reducing load times for returning users. This can significantly improve the user experience and even boost your SEO ranking. In this step-by-step guide, we will walk you through the process of enabling browser caching in your Shopify store.
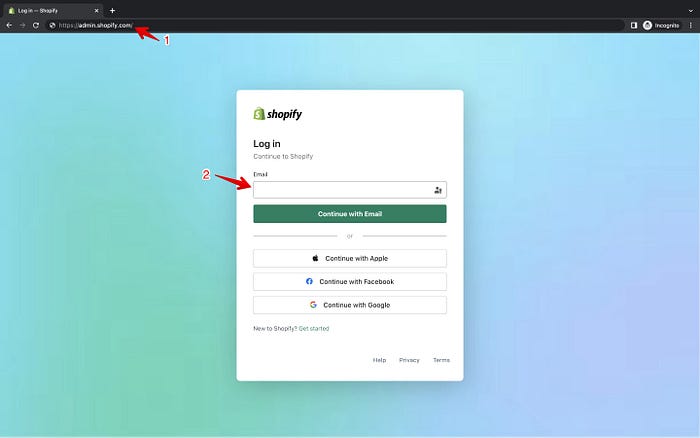
Step 1: Access Your Shopify Admin
To get started, log in to your Shopify admin panel using your credentials. Once you’re in, you can begin the process of enabling browser caching.
Step 2: Go to Online Store Settings
In the Shopify admin, navigate to the “Online Store” section on the left-hand menu. Click on “Online Store” to access your store’s settings.

Step 3: Click on Preferences
Under the Online Store settings, you will see various options. Locate and click on “Preferences.”

Step 4: Enable Browser Caching
Scroll down the Preferences page until you find the “Browser caching” section. Here, you can enable browser caching for your store. Check the box that says “Enable browser caching.” This step essentially tells Shopify to instruct the visitor’s browser to store certain files locally for faster loading times in subsequent visits.
Step 5: Save Your Changes
Once you’ve checked the “Enable browser caching” box, make sure to save your changes by clicking the “Save” or “Save Preferences” button, typically located at the bottom or top of the Preferences page. Your browser caching settings are now active.
Step 6: Test Your Store
After enabling browser caching, it’s essential to test your store’s speed and performance to ensure that the changes have been applied correctly. There are various online tools and services available, such as Google PageSpeed Insights and GTmetrix, that can help you evaluate your site’s performance. These tools can provide valuable insights and recommendations for further optimization.
Step 7: Monitor and Adjust
Once browser caching is enabled, it’s important to monitor your store’s performance regularly. Over time, you may want to adjust your caching settings based on your site’s needs and your visitors’ behavior. Fine-tuning your caching strategy can help ensure your store continues to load quickly and efficiently.
Bottom Line
Enabling browser caching in your Shopify store is a simple yet effective way to improve the user experience and boost your site’s performance. By following the step-by-step guide outlined in this article, you can ensure that your visitors enjoy faster load times and a more responsive shopping experience. Keep in mind that optimizing your store’s performance is an ongoing process, so regularly monitor and adjust your caching settings to stay ahead of the game.
Thanks for reading!
I hope you found this article useful.
Comments
Loading comments…